
While solar panel installation has become simpler over the years, it’s certainly not a typical DIY process. Even a qualified electrician needs solar installation training on a roof and must become familiar with local permitting and fire code requirements to complete a safe and reliable installation. If you’re just interested in knowing how solar is installed on your roof, here’s a quick five-step guide.
Freedom Solar Electric CONSULTATION
Your solar consultant will ask you a series of general questions about your home. This often includes questions about your utility, the amount of your monthly electric bills, the age of your roof, the angle of your roof (flat or pitched), and the type of roof, such as shingles, tiles, or clay. In addition to giving you an estimate, your solar consultant will often provide solar financing options and educate you about any local and federal incentives for which you may qualify, such as the 30 percent federal solar investment tax credit (ITC).
THE HOME AND SITE EVALUATION
In the design phase, Freedom Solar Electric will evaluate your home to determine the best solar panels, inverter, racking, and other components. As part of the evaluation, Freedom Solar Electric will make an appointment to inspect your attic, your roof, and your home’s electrical system. The inspector will determine the best location to mount the hardware that runs your system (often in your garage or another unobtrusive area). During the inspection, Freedom Solar Electric will evaluate your property to ensure that the installation is code-compliant and will recommend upgrades if required. For example, if you have an older home, your electrical panel may need to be updated, or when inspecting your attic or roofing, the installer may discover issues that require repair before your system is installed.
DESIGN AND PERMITTING PHASE
Once all of the information and measurements have been gathered, Freedom Solar Electric will create a solar engineering and site design plan. The plan will include the number of panels and where they’ll be placed on your roof, the wiring of the system, and how it will be interconnected with the utility. The design plan should also ensure compliance with local fire safety requirements. Freedom Solar Electric’s EPC will then submit these plans to your city/county permitting departments and to your utility company. Unfortunately, most cities, counties, and utilities have different requirements that can vary greatly and can be confusing, even for solar pros. Freedom Solar Electric is familiar with the local building codes and the local utility companies.
The design and permitting phase typically take approximately one to three months, depending on the jurisdiction. Freedom Solar Electric will keep you informed about the progress and let you know when it’s time to schedule the physical installation date.
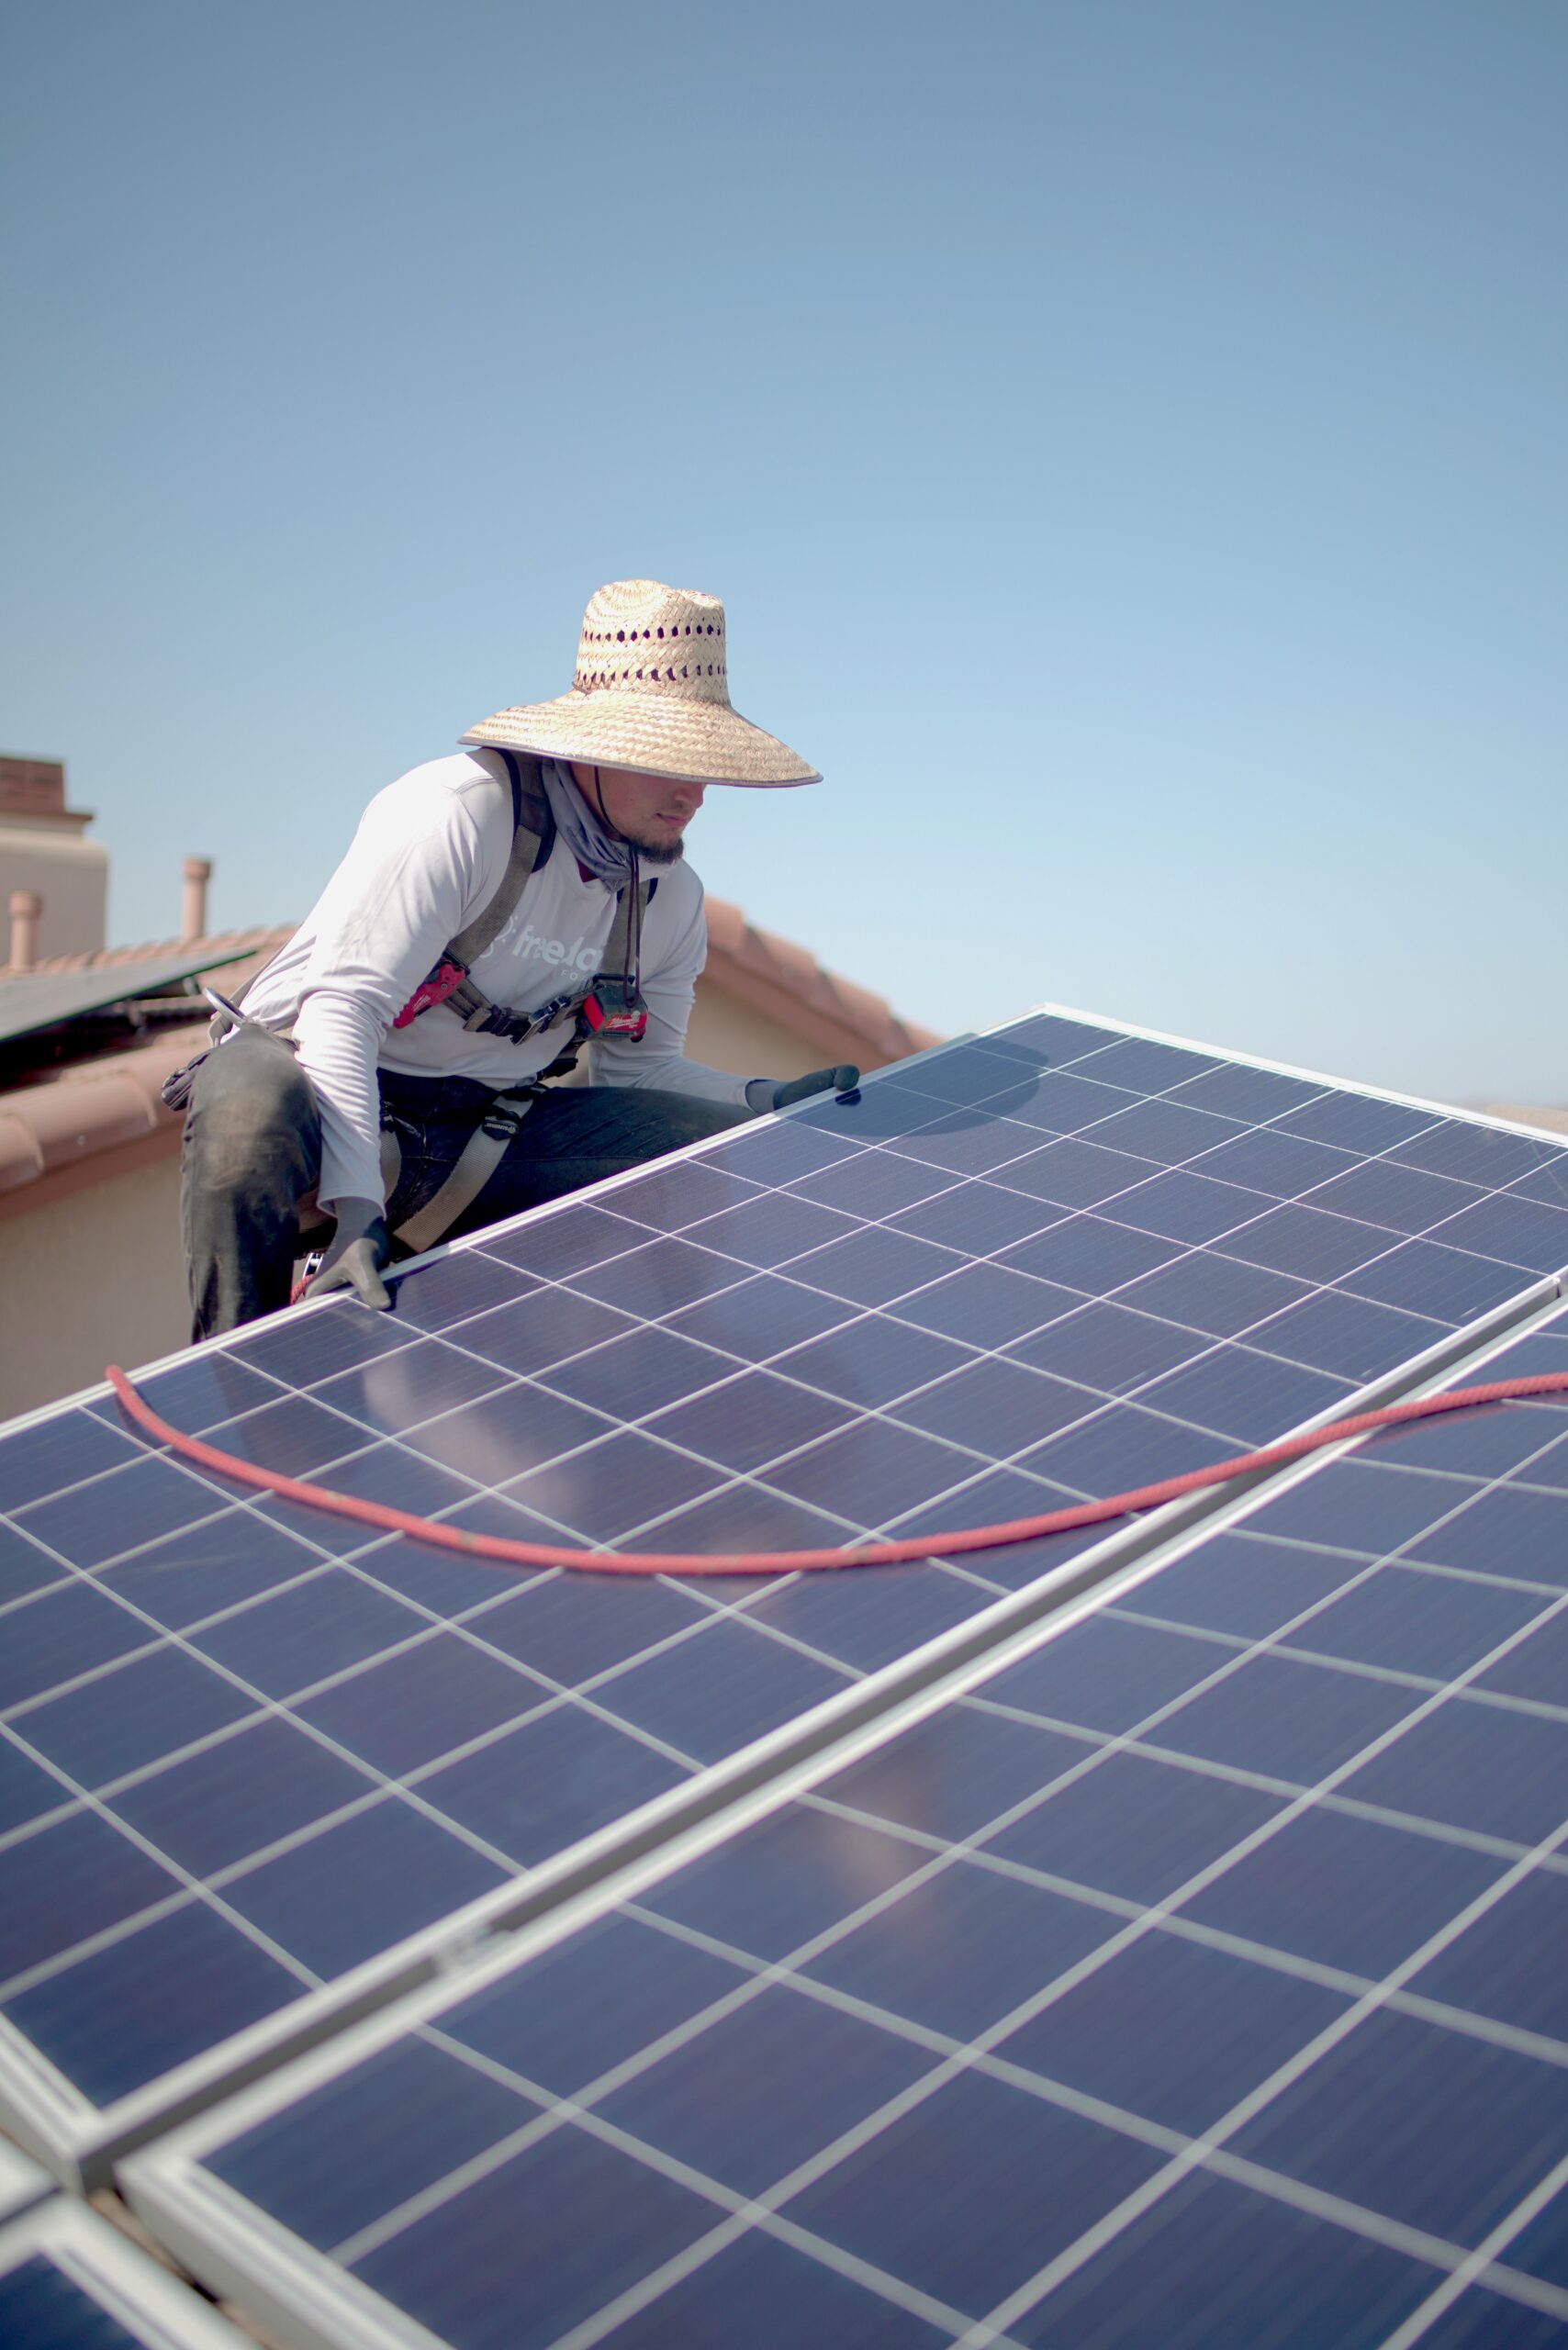
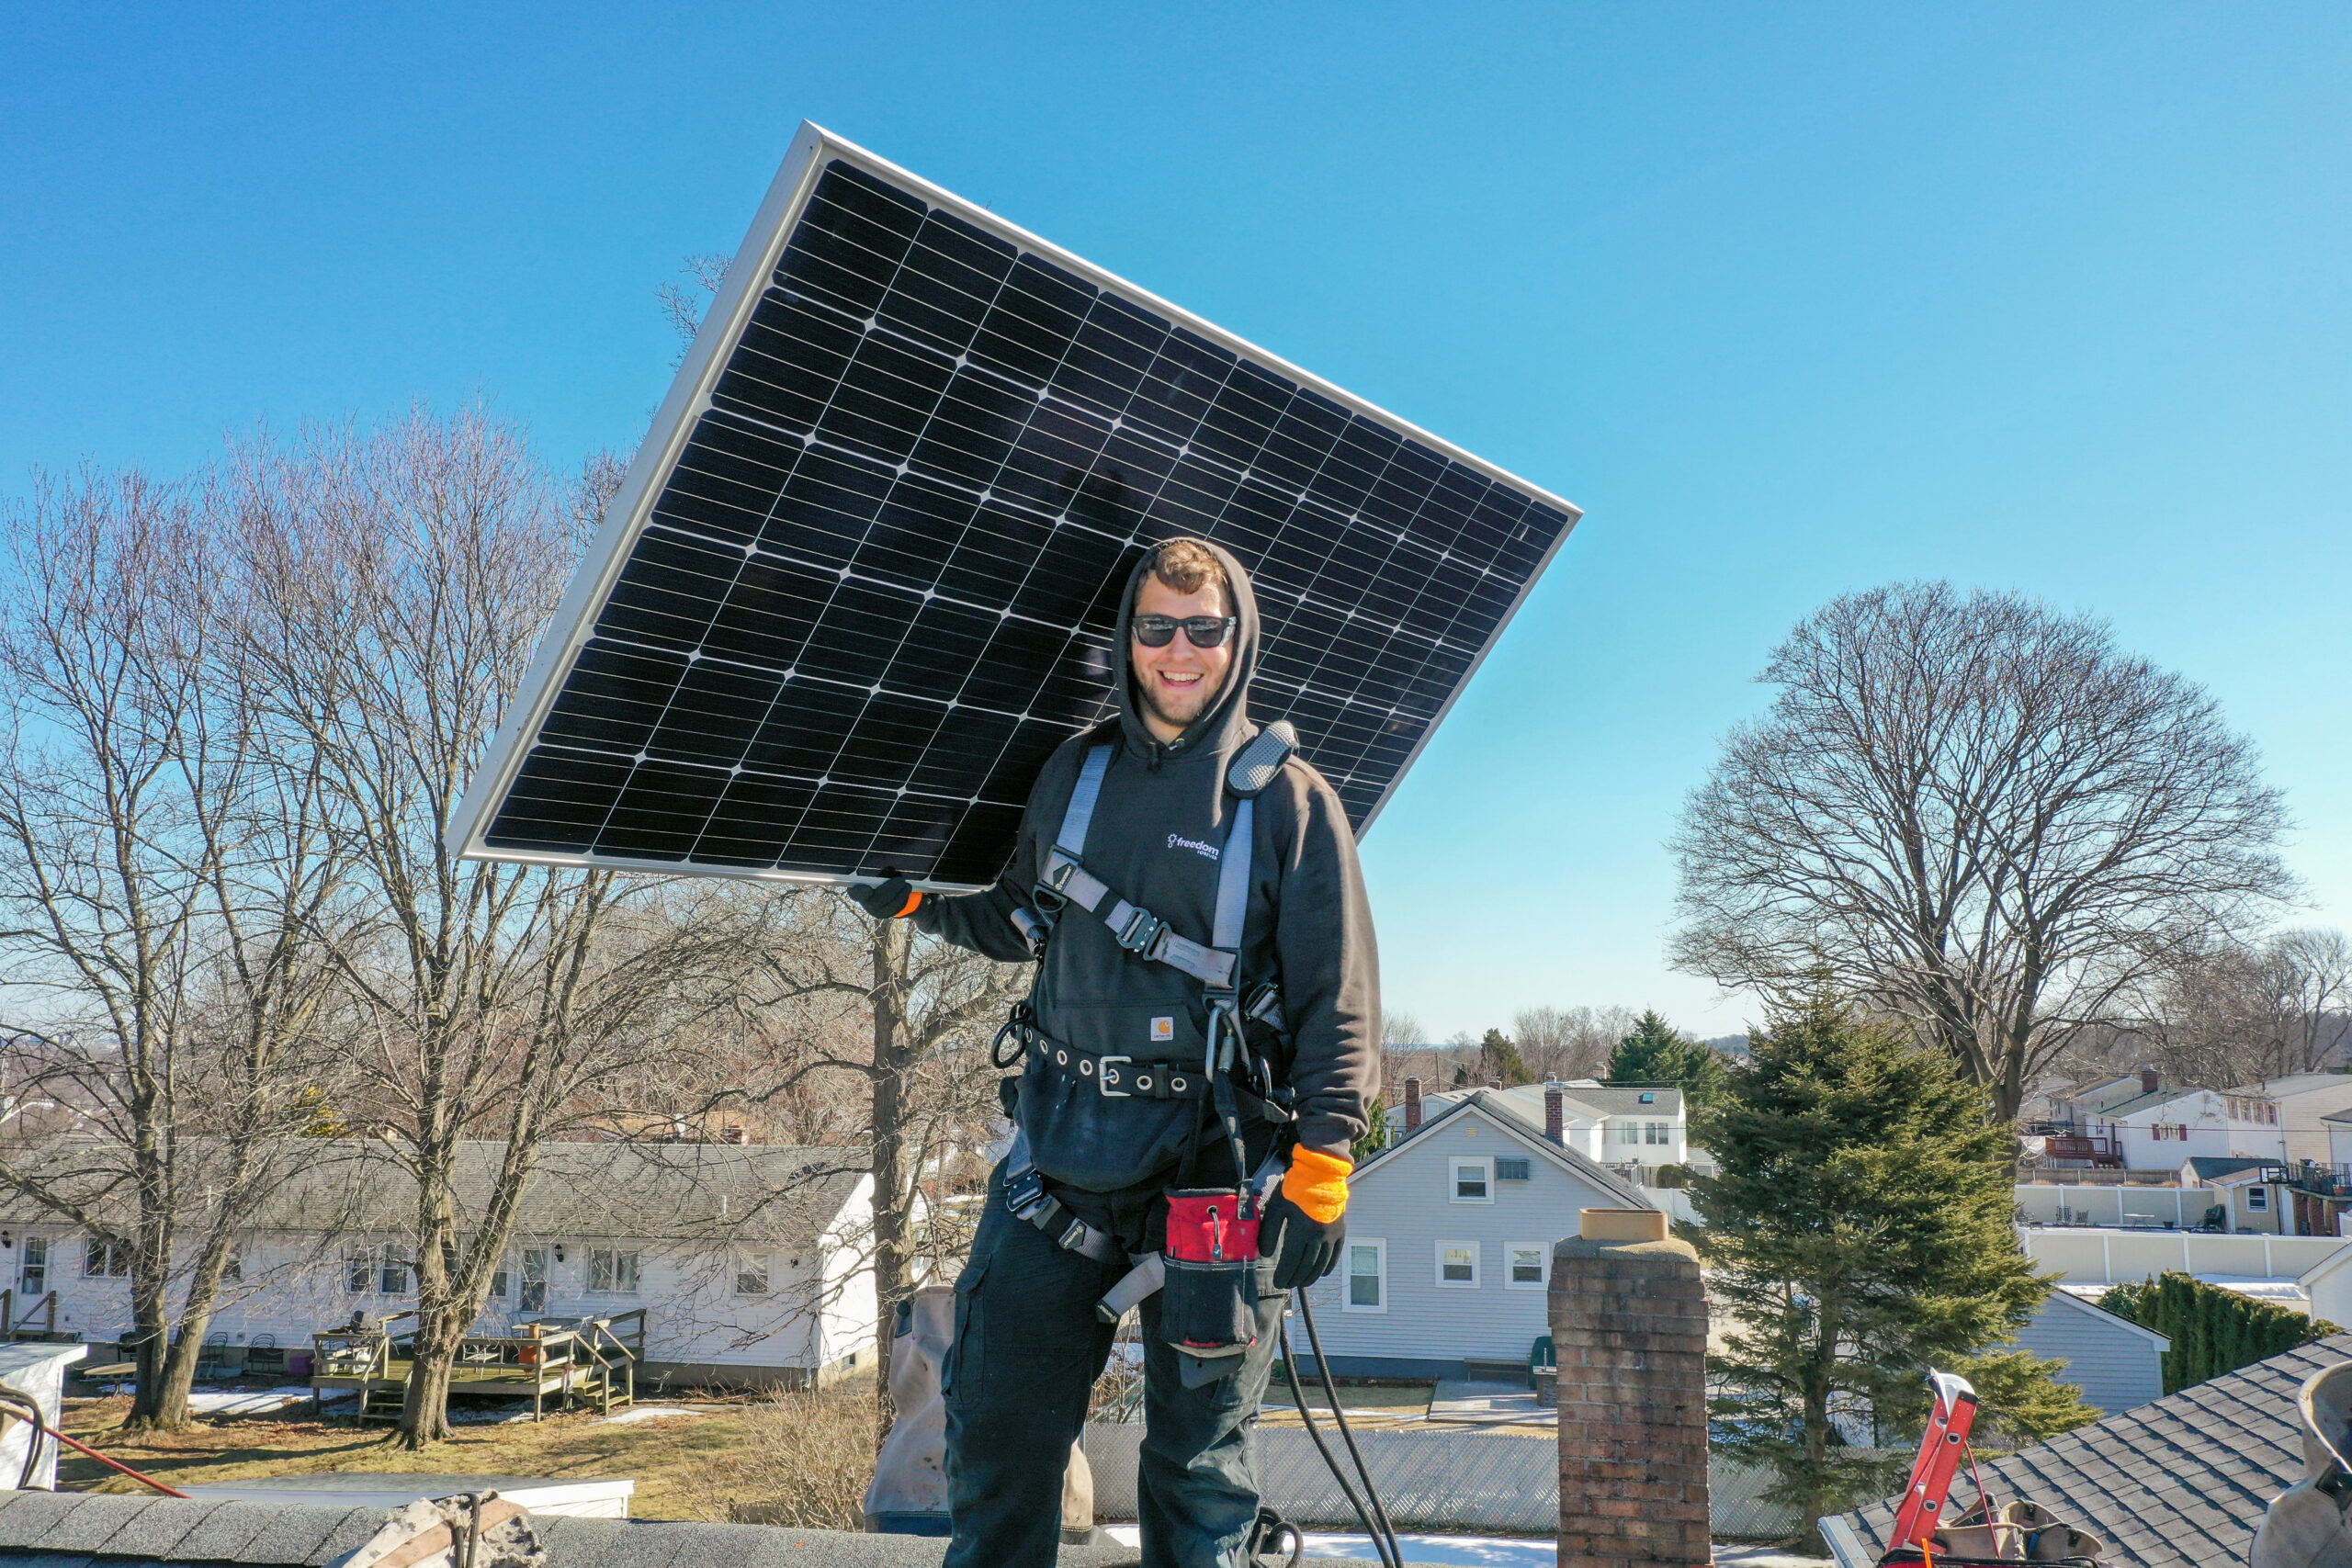
SOLAR INSTALLATION
In many respects, the actual installation constitutes the simplest phase of transitioning to solar energy. You may need to be present when the installers arrive to provide access to your roof and home’s electrical system. If you have pets, it’s essential to ensure they are safely secured during the installation process.
If you’re interested in observing, your installation crew will inform you and your family where to witness the process. Indeed, there will be activity. Nowadays, standard solar installations can often be completed within one to three days, contingent upon the size of your system. Once the solar panels are affixed to the roof and the relevant electrical and monitoring equipment is installed, the installation crew will tidy up the work area and proceed to the final phase.
INSPECTION AND INTERCONNECTION
Similar to permitting, each city, county, and utility has its own set of final inspection and approval prerequisites for solar installations. A city and/or county inspector will visit to verify that your installation adheres to the granted permit. The inspection procedure can vary widely and may take anywhere from a few days to several weeks, depending on your location.
The utility will also conduct an inspection and provide authorization for the installation to be officially connected to the grid. Once again, this interconnection process may entail a waiting period of days or weeks. Regionally based installers may navigate through the system more efficiently and keep you informed about the progress, akin to the permitting process.
Upon securing all necessary approvals from the city, county, and utility, your installation crew will be prepared to activate the system. You can then experience the satisfaction of observing your meter spin backward and/or witness a decline in your electricity bill as you generate your own clean energy.
Discover potential savings with solar by reaching out to us for a complimentary estimate and to learn more about the typical installation timeline for your home.